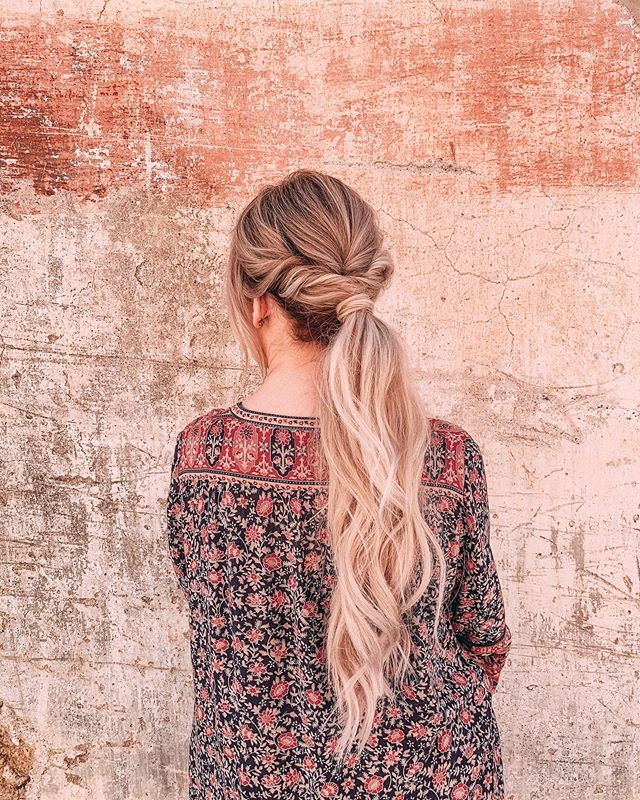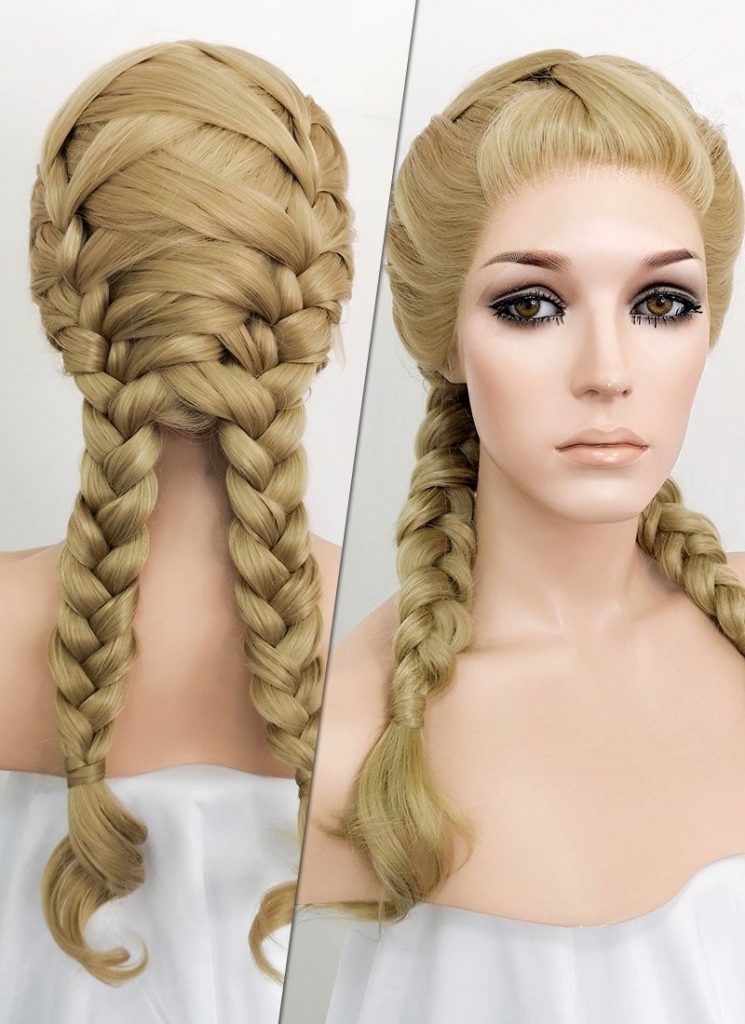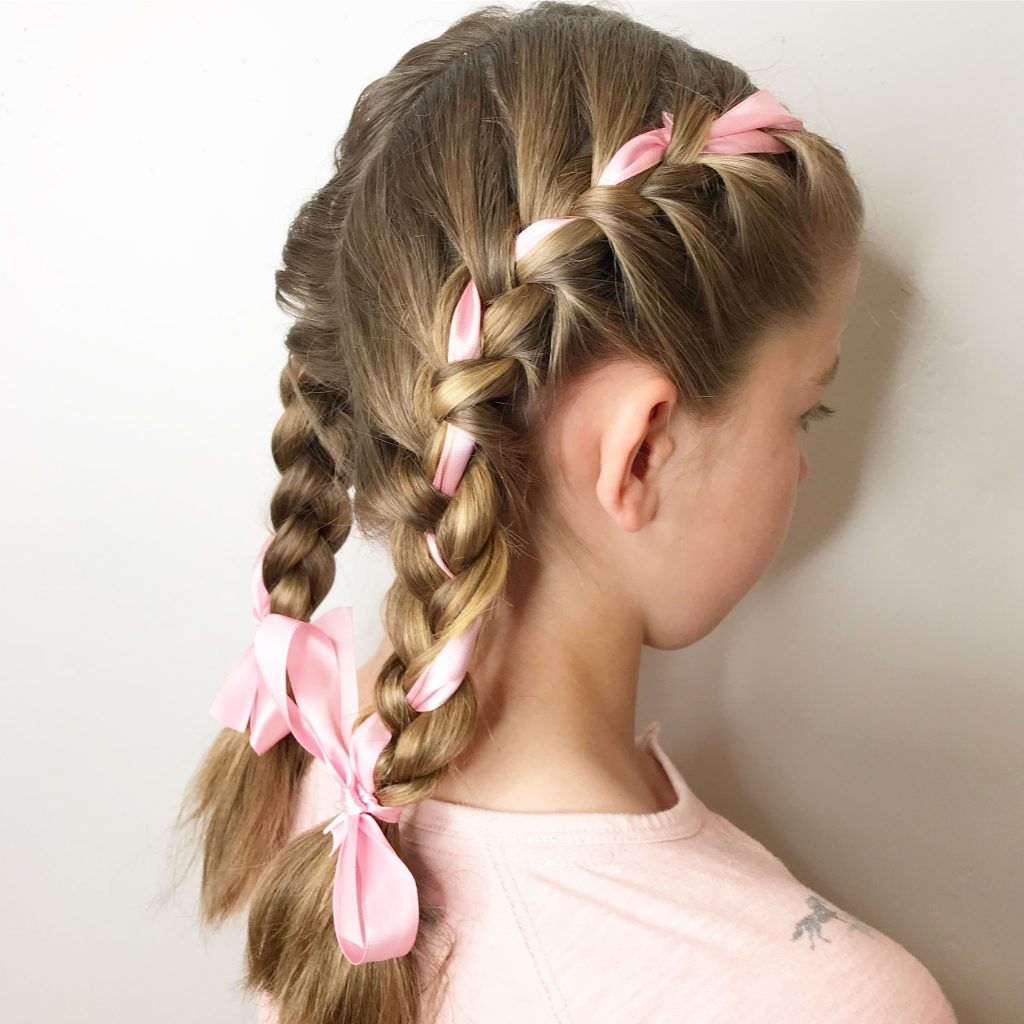
When you were still a little girl, have you ever adored the elves in fantasy tales? I bet the elves must have the hairstyle just like the image above. So how to french braid your wig? Here comes my basic tutorial for this hairstyle which may help your fantasy dream come true.
1. Preparing the Wig
Before we start the braiding, please make sure that it starts with a thick, non-layered base wig. During the process of picking your proper wigs, you’d better choose a straight wig that doesn’t been processed at all, if it already has any chic style, it would not work for the picked wig should stay original as much as possible. Next, all the hair of that wig should be roughly the same length, or else you’ll probably see shorter hairs sticking out of the braid when our work has done.
Then please brush the wig hair with your wig comb or a wig brush, making sure every single hair not sticking up and look really smooth and straight. I have to say this step is so crucial for braiding a wig! Do it carefully!

2. Braiding
Here comes our major part—Braiding! Of course, french braids vary from style to style, for this moment I’m going to talk about the most classic one. Firstly, Please parting the wig hair down the middle to enable you to have an equal amount of hair on both sides of your head — left and right. Done left then right will be all good. On each side, please gently section off several equally thin strands making them close to the front hairline. Then add a little hairspray to make the three sections moist and smooth enough to out with your hand. Crossing the left section over the middle section, then cross the right section head over the middle, I know it is just a piece of cake! Do it just like the classic braid! Repeat this process of crossing the left section over the middle, then crossing the right strand over the middle, and add some new wig hair from the other side. Go on this repeated process till the work done.
Here is my little tip for this process: Use a little hairspray to keep the hair smooth and straight every time before you add new hair to the braid, and s cute clip is also a good idea to free your hands to do the next step. Last, Parting the hair in a slight zigzag pattern instead of making a straight parting in the back.

3. Finishing Touches
The last step of the work is going to be done, here come the finish touches. When the wig hair has very little to remain during the braiding, tie off the braid using an elastic cord or heavy-duty thread. When the styling work is done, make sure the hair tie will perfectly cover the elastic or thread. Using glue could be a wonderful piece of advice. Finally, trimming the wig hair into good shape, you can cut diagonally tapering towards the end for a fluffy look. If it is not your type, you can also choose to thin out the tips making them look much more natural and will be less chopped off. Here also comes my little tip! Trying to add ribbons, flowers or beads will definitely elevate your look! If you are still looking for the best wig, Uniwigs is always a great choice!
Say, you got a nice article post.Much thanks again. Really Cool.
Really enjoyed this post. Much obliged.
I truly appreciate this blog article. Want more.
Thank you ever so for you blog post.Really thank you! Awesome.
Your point of view caught my eye and was very interesting. Thanks. I have a question for you.
Thanks-a-mundo for the blog.Much thanks again. Want more.
wow, awesome blog article.Much thanks again. Really Cool.
Your article helped me a lot, is there any more related content? Thanks!
Your article helped me a lot, is there any more related content? Thanks!